![]() This article pertains to ProSeries Professional only. If you want to learn more about using the HomeBase View in ProSeries Basic, see here.
This article pertains to ProSeries Professional only. If you want to learn more about using the HomeBase View in ProSeries Basic, see here.
This article will help you:
- Perform common functions in the HomeBase.
- Customize the HomeBase.
- Create a mailing list in the program.
Select a topic from below to learn more.
Starting in tax year 2020: Advanced filtering
Starting in tax year 2020 ProSeries Professional, you can use the column headings to filter your clients.
Follow these steps to use the column headings to filter your clients:
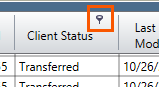
- Locate the column you want to filter by.
- Hover over the column heading and click the filter icon.
- Add a checkmark to the value you want to filter by.
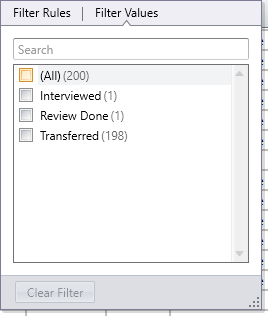
- The HomeBase will now be filtered to the selected value.
- To reset your view click Clear Filter.
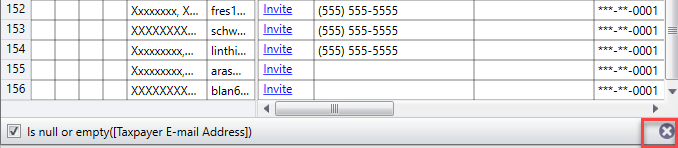
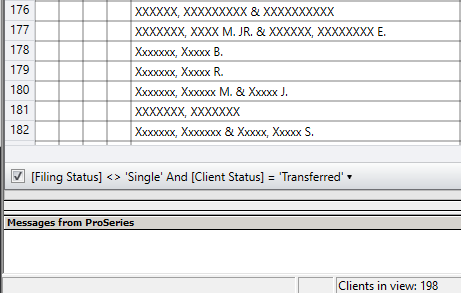
You can see and clear any active filters at the bottom of your HomeBase View.
Starting in tax year 2020: How to find clients quickly in your HomeBase View
In tax year 2020 ProSeries Professional, the Find Client feature was redesigned to make it easier to find the file you need to open.
Follow these steps to find clients quickly in HomeBase View:
- While on the HomeBase, click on the Find Client icon.
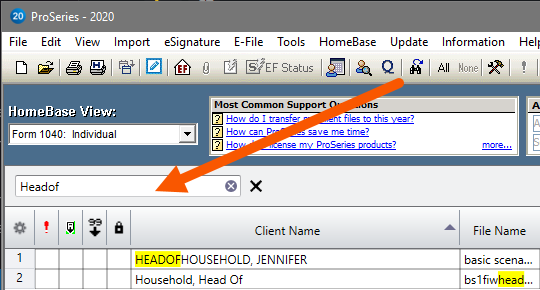
- In the search box, enter in the client's name, file name, or Social Security number to quickly find them in the list.
Starting in tax year 2020: Building and running custom queries
Starting in tax year 2020 ProSeries Professional, you can create and run custom queries on your HomeBase.
Before you begin, make sure any columns you want to query by are added to the HomeBase. See "How do I customize and save my HomeBase View?" below for details.
Follow these steps to build and run custom queries:
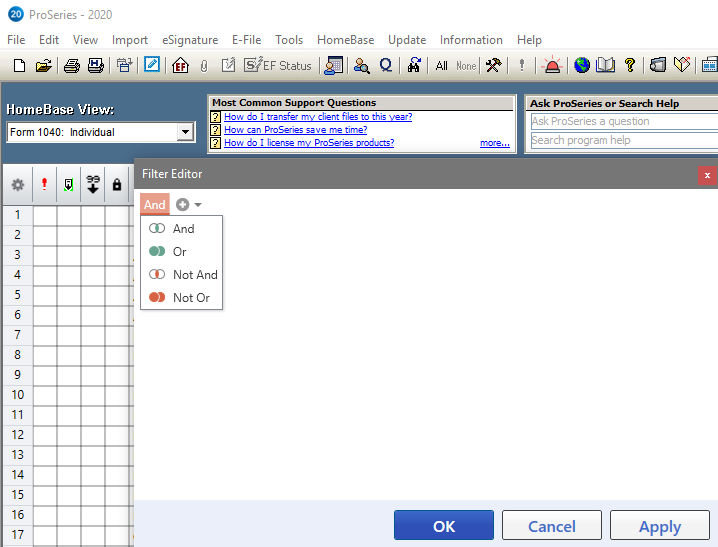
- From the HomeBase menu, choose Query.
- Choose the type of query you want to run. You can choose And, Or, Not And or Not Or.
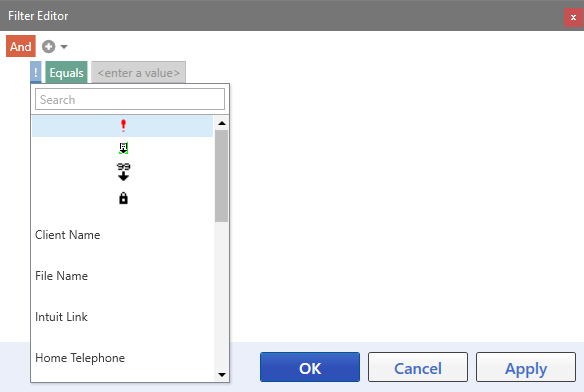
- Click on the plus sign (+) to add your first variable.
- Click on the first dropdown menu to choose the column you want to query by. In this example, we used Client Status.
- Choose your query parameter (Equals, Does not Equal, etc.).
- Enter the value. In our example, we used Transferred.
- Click on the plus (+) and repeat steps 4-6 for each variable in the query. This query will show any clients that have Arizona in their address and have a Client Status of Transferred.

- Click OK to see the results.
- You can quickly clear the query by unchecking the query at the bottom of the HomeBase View.
Newly refined starting in tax year 2020: How do I customize and save my HomeBase View?
In ProSeries Professional, you can customize your HomeBase View and save the changes. Customizing and saving changes isn't supported in ProSeries Basic.
Follow these steps to customize and save your view:
- Open ProSeries to the HomeBase View for the return type you want the custom view for.
- The EF Center, Pay-by-Refund View and All Tax Returns View can't be customized.
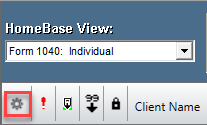
- From the HomeBase menu, choose Add/Edit Custom Views or click on the Gear icon in the upper-left corner of the HomeBase View.
- On the left side of the screen, select +Add New Custom View.
- Uncheck any items you don't want to appear on your HomeBase View.
- Check the columns that you want to add.
- Click Save, and then click Close.
- In the HomeBase View dropdown, choose your new custom view.
- To rearrange the columns, drag and drop them in HomeBase.
- To change a column width, drag the column to the desired width.
![]() You can reset all changes by going to the HomeBase menu and choosing Reset Current View.
You can reset all changes by going to the HomeBase menu and choosing Reset Current View.
You can now print or export your view to Excel.
To customize and save your view in tax year 2019 and prior:
- Select the view to modify from the HomeBase View dropdown box.
- From the HomeBase menu, select Column Headings.
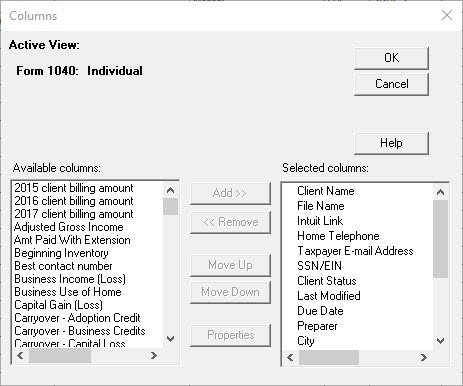
- Once all desired fields are in the Selected columns list, click OK.
- Save the modified HomeBase View with a new name.
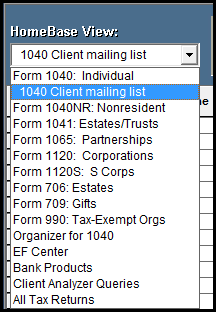
- The name of the new view is added to the HomeBase View dropdown box.
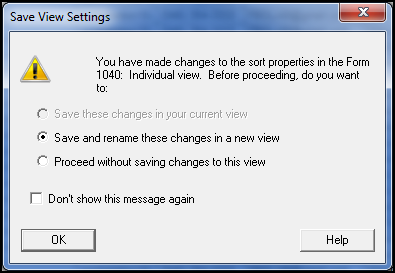
If the HomeBase View dropdown box selection is changed without saving the current HomeBase View, the Save View Settings window appears.
To set a custom column width in tax year 2019 and prior:
- From the HomeBase menu, select Column Headings.
- In the Columns window, select the column you want to resize or lock from the Selected columns list.
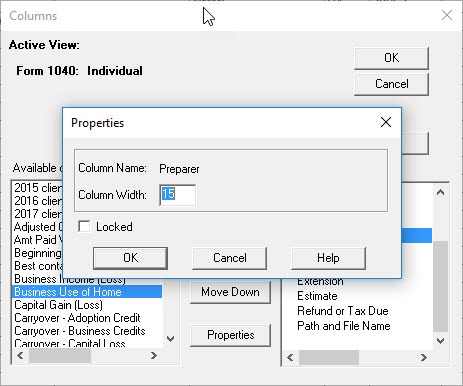
- Select Properties.
- Enter a new Column Width.
- Click OK.
- To lock the column in place, check the Locked checkbox, and then click OK.
How do I add the client address to the HomeBase to create a mailing list?
ProSeries Professional allows you to add your client's home address to the view. This customization isn't supported in ProSeries Basic.
Follow these steps to add your client's home address to the view:
- Open ProSeries to the HomeBase View for the return type you want the mailing list for.
- From the HomeBase menu, select Add/Edit Custom Views.
- From the left side of the screen, select +Add New Custom View.
- Uncheck any items you don't want to appear on your mailing list.
- Check the boxes for:
- Client Street and Apt Address
- Client City; State; and Zip
- Click Save, and then click Close.
- In the HomeBase View dropdown, choose your new custom list.
You can now print or export you mailing list to Excel.
For tax year 2019 and prior:
- From the HomeBase menu, select Column Headings.
- Under Available columns, select Client Street and Apt Address and click Add >>.
- Don't add the Client Address heading. This heading displays the address from the Schedule C.
- It'll be added to the bottom of Selected columns list. Position it by clicking Move Up or Move Down.
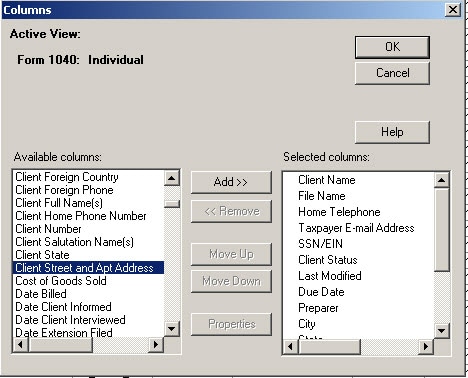
- Click OK to insert the column into HomeBase.
